Showing posts with label Orly. Show all posts

Tuesday, February 19, 2013

Color Blocked Nails Inspired by the New York Fashion Week featuring Essie Butler Please

I'm very excited to share with you my latest creation! I feel so fashion forward! :D I cannot tell you how distracted I am... There's something about this design that makes my fingers look so long and slender. It's a cool illusion for those who have shorter than the average fingers and nails, like me. :)


This design is first inspired by @susieq1980 's tape mani. For the life of me, I can't figure out how to use the tape properly, so I ended up doing a freehand for my version.


It's also inspired by @martawarmuz 's #skittlette trend. Marta, from ChitChat Nails, defines this as a manicure consisting of two, or three, different accent nails on each hand; as opposed to skittle nails, wherein each nail should have a unique design. I love me some Marta's skittlettes! :*) Here are my favorites!


I've also been dying to use my new favorite blue, Essie's Butler Please from the 2012 Winter collection. Isn't it sooo pretty? Just look at how bright that blue is! I don't understand why there's so much hate around the formula or application. It dries matte, fine, any topcoat can fix that. It's not streaky or uneven. It's a solid two-coater and I'm glad that I took a chance on this. I love it!


I've also seen so many new trends from the New York Fashion Week Fall 2013 runway shows, that I can't help but do something new and creative! :) It helps to be surrounded by so many talented people with overflowing creative juices! Hooray for Instagram! Some trends that I incorporated into this look: milky white polish, dark shades, diagonal color blocking, and gem accents, in place of a glitter gradient.


Here are some links to the 2013 nail polish trends, straight from the runway:
Harper's Bazaar
Glamour
StyleList

I used the following polishes: Dazzle Dry base coat, Dazzle Dry top coat, Essie Waltz (an elegant sheer white),  Essie Butler Please (an indulgent bright blue), and Orly Liquid Vinyl (black). Then I used Swarovski crystals for the gem accents.


I went through 4 iterations. Haha! From upper left, clockwise: 1) freehand mani, 2) with OPI Crown Me Already glitter gradient, 3) with rhinestones and sponged tips, and 4) with rhinestones only. Which one of the four do you like the best? I knew I wanted to add something to spice it up. If only I had silver metal studs, I think they would have been perfect!

Lastly, I thought I'd just pose with my favorite "cuticle cream", Jack Black's Industrial Strength Hand Healer. It's the exact same color. Hehe!


It feels good to be back! Happy reading! :)
 

Valentine's Day Nail Art

I came up with this design a while back, but saved the whole manicure for Valentine's because I thought that it would be perfect for the occasion. Those glitter hearts are something! They're just the right pearly pink that's so dainty and romantic.


For my base coat, I used Dazzle Dry. Then, I put on 3 coats of Dazzle Dry Touch of Love, which is the perfect shade of pink that complements the hearts, and the name of the polish is just spot on!


Alternatively, you can use Orly Confetti. They should look similar, except that Confetti is more sheer and might need more coats. Both polish will give you that jelly or crelly (somewhere in between a creme and jelly, you know, not a flat solid creme) effect.


After the base color, I did 1 coat of The Face Shop WH003 glitter hearts polish, which only ended up being the small holographic glitter. Hehe! It took some effort to pick up the hearts one by one and place them on the nail, but it's well-worth the extra work. Still so much easier than having to do some real nail art! After the hearts, I covered everything with the Dazzle Dry top coat.


This is just all about layering. I think this could've looked better if the hearts were more randomly placed though. :) But I was happy with how it came out in the end.

And that's it! I leave you with these two music videos from the Plain White T's!! Enjoy and spread the LOVE! <3

Rhythm of Love


1, 2, 3, 4


Friday, October 5, 2012

Floral Nails

Last week, I was about to let go of my nail art obsession. For some reason, I just got tired of the smell of polish and wanted to stay away from it for awhile. I was polish-free from Monday to Friday until inspiration hit me.

My friends have been feeding this obsession of mine ever since, but even more so when I started doing nail art. They've been posting nail art pictures on my Facebook wall, somehow challenging me to replicate those designs. My friend, Kim, presented me with challenge #2 (the first one being aztec nails, which I still don't have a full entry about).

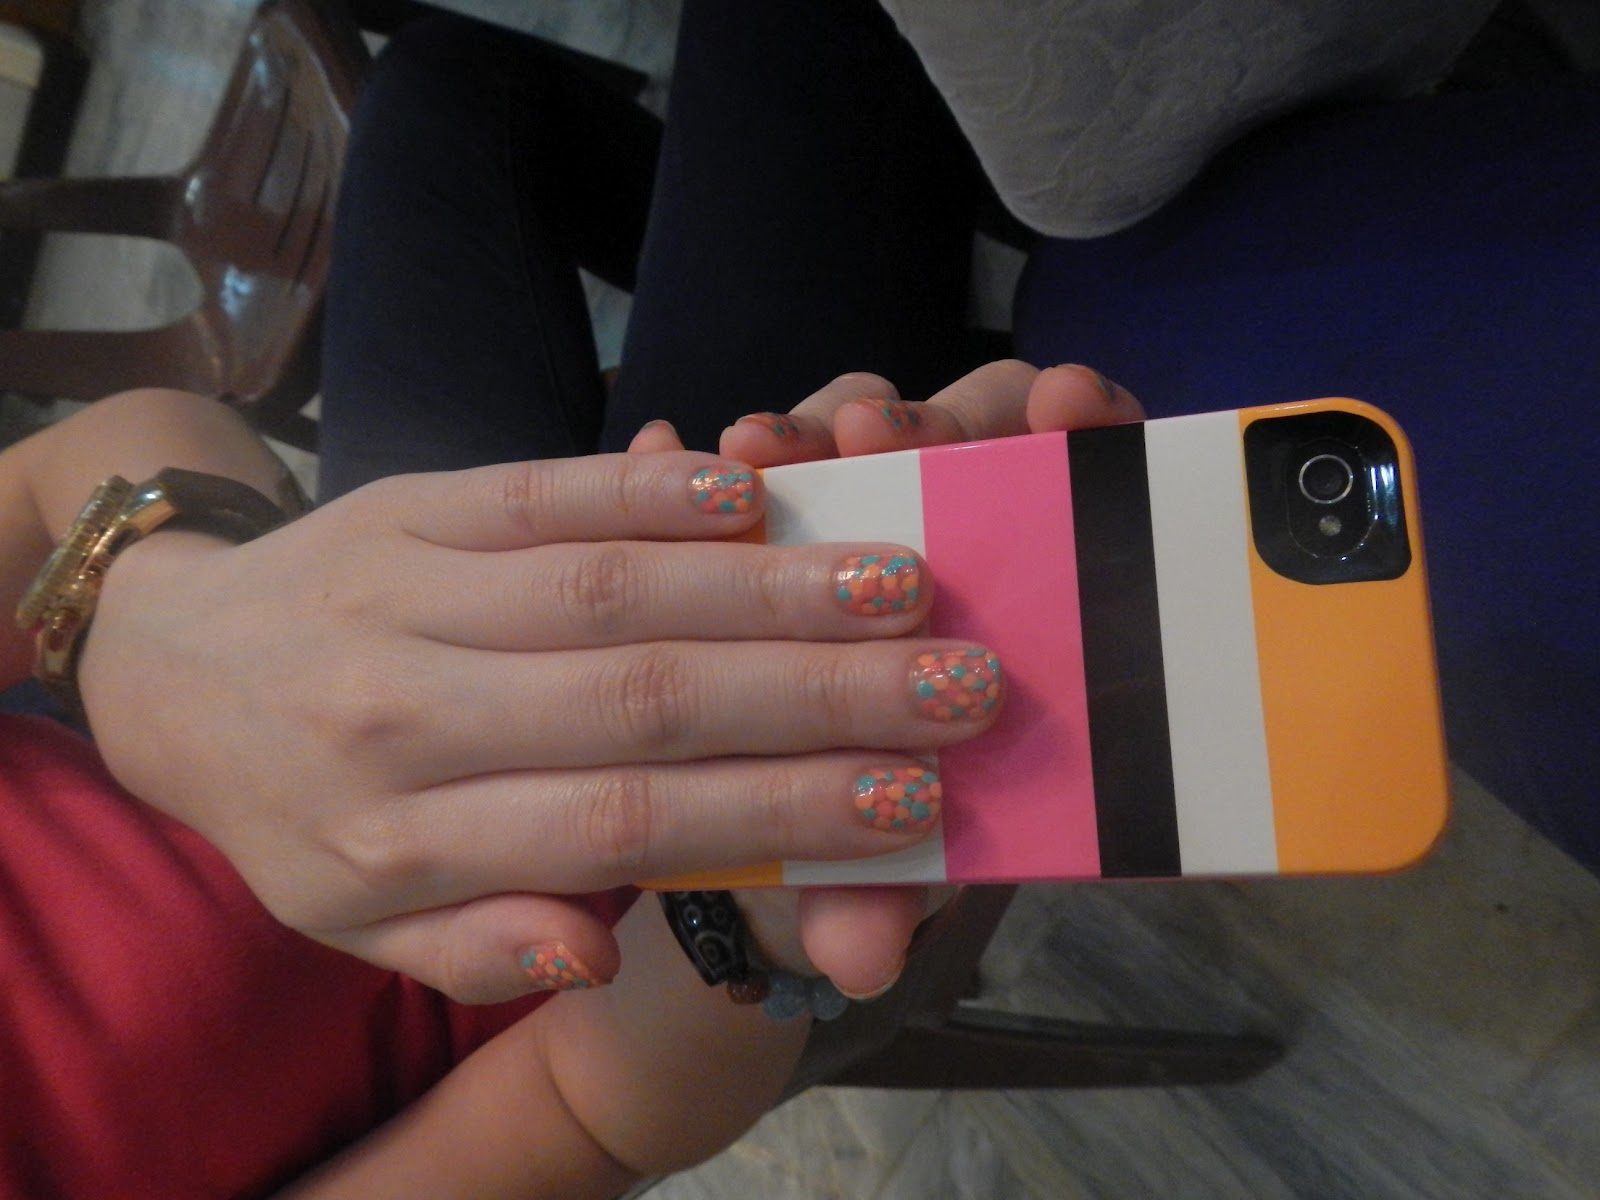
Anyway, going back, here's how challenge #2 turned out. It's so feminine and dainty!!


See the resemblance to the original?


Unfortunately, I cannot give credit to the original since we can no longer trace back where this came from. So if anyone recognizes the creator of this, please do let me know so that I can give due recognition.

It was challenging but fun at the same time to do this because it's my first time to do roses! Here's a tutorial that I found showing you how quick and easy it is to do. I got this link from another one of my idols, Polished Perfectionist. She does AMAZING roses (among other things!!!)!  Check out her blog entry entitled "Sweet Roses" here.


The challenge: I had a bit of trouble coming up with a close color match.

I don't have a pale yellow polish (this looks like China Glaze Lemon Fizz) so I invented my own. First, I layered Orly Spark, a bright yellow, with Essie Waltz, a sheer white, which beautifully tuned down the brightness and saturation, making it a light and dainty yellow pastel.

I also don't have a light gray polish. So I layered my OPI My Boyfriend Scales Walls, my go-to white polish, with OPI My Pointe Exactly, a sheer gray and one of my favorites from the NYC Ballet Collection. I made thin coats just enough to get a color match so as not to make the polish too thick.

For the flowers, I followed the video tutorial above and swirled Orly Spark and Sassy Nail Art in pink. For the leaves, it was a combination of China Glaze Exotic Encounters and China Glaze For Audrey.

Lastly, for my topcoat, I skipped Sally Hansen Insta-dri Anti-chip top coat and Seche Vite dry fast top coat this time around because I got sick of the smell. Instead, I turned to Orly Sec-n-Dry. It's not as thick, glossy, and long-lasting as the other two, but it smelled less toxic and did the job.

Here are all the nail polish colors that I used (excluding my base and top coats). From left to right: Orly Spark, Essie Waltz, OPI My Boyfriend Scales Walls, OPI My Pointe Exactly, Sassy Nail Art in pink, China Glaze Exotic Encounters, and China Glaze For Audrey.


Want to see more pictures? ... You don't have a choice! :D


I showed this to Kim in person over the weekend and she said that this is her favorite nail art to date! Yey! I was so touched and reenergized to do more!!!

I also had fun matching my outfits with this design. I didn't realize it would be so wearable! Just think feminine and floral, or yellow and gray combo.

Last Saturday, I went to a 1st year birthday party and to a wedding afterwards. I wore this a pale blue fitted top from Armani Exchange paired with a nude ruffled skirt from Zara. I then synched my waist with a big nude rose gartered belt also from Zara. (You can barely see it on the picture to the left, below!) For my shoes, I wore my Tory Burch wedged sandals for all-day comfort! Too bad I don't have a full body picture! But here are some pictures I took that day.

We took several pictures with the wine because it's extra special at P9,850.00 a bottle. :)


See if you can try to imagine and piece my top together with the skirt below and the rose belt worn to the side. :)

On Tuesday, I went to the office and paired my nails with a Mango elastic waist dress in green, Mango chain detail waist belt, Tory Burch wedge sandals in knot, and a Louis Vuitton Speedy in Monogram Mini Lin cotton and linen canvas. Again no picture, but see below how I tried to assemble the look. I love the proper, sophisticated look. :)
On Wednesday, I went with Jor-el for a check up at the hospital. It was raining, so it was time for my boots to come out and do their job. This is more of an edgy look but still played with the pastel yellow and dove gray theme. It struck me that I had to take a picture! I'm wearing a Mango pale yellow spaghetti strap, Zara dove gray cardigan, Zara navy blue distressed shorts, Zara black leather ribbon belt, Kenneth Cole black knee high boots, and my Forever 21 layered necklace. Kinda funky for your taste? Must be the Taiwanese in me! Heehee :)

So! Do you have any challenges for me? I'm all ears! Leave a comment and I'll try my best to do it!! :)

Thanks for reading!


* UPDATE: Wanted to share with you the picture that I posted in Instragram.
I love love love these adorable frames!!! :D

Wednesday, October 3, 2012

Karen & Erica's 2012 Birthday Party

September 15, 2012

This year, it was a sit down Surf and Turf dinner + Hello Kitty + Tonic Bags and Shoes + Polished Inthecity Nail Art PARTY!!!!
I'm still on a high over it! Jor-el bought 18 pieces of 14-16 oz. steaks for all of us to feast on!!! If you've seen them in real life, you'd be flabbergasted! :-O

Thank you Chef Jor-el Soyangco for our plated surf and turf grilled steak and prawns with a siding of mashed potatoes and our smoked salmon with kesong puti salad in blueberry vinaigrette!

Thank you Chef Nicco Santos for our watercress and spinach soup, mushroom and truffle cream sauce pasta, and our late night salpicao!

We even hired a waiter to serve and bus out our plates! How cool is that?! :)

It was so sad we didn't have pictures of the food though!! All I have is this picture of the leftovers with the boys. :(


I got Erica black Lydias from Tonic Bags and Shoes for her birthday! I wore my platinum ones, while Anne wore her gold ones. All thanks to the ever-talented Kim Chupeco!! We love your work!!! <3


Our friends, Kali and Rach, got us these really cool Hello Kitty glasses! Now, I have 4 in my collection!!

Took this the day after the party, with my new Hello Kitty glasses! :)

The night progressed with the girls doing their nails for each other. :) It was so much fun!!! Look at the smiles on our faces! After trying it out themselves, my friends realized how easy it was to do! The night was shortlived and I'm still hoping that I can invite them over to the house for another round!


Nail Art #1: Kate Spade Dippin' Dots for Kali
with China Glaze Peachy Keen, China Glaze For Audrey, and Orly Pixy Stix


Nail Art #2: Fun Nerds Dots for Shirley
with Orly Spark, Orly Rage, Orly Pixy Stix, China Glaze Peachy Keen, and China Glaze For Audrey


Nail Art #3: Silver Accents over Pink for Elaine
with some Orly pink polish and Wet 'n' Wild Wizard


Nail Art #4: Sponged tips for Erica
with Orly Rage layered on Essie Sand Tropez


Nail Art #5: Aztec Nails for Kacy
with OPI My Boyfriend Scales Walls, L'Oreal Electric Pink Creme, and Sassy Nail Art in black


Nail Art #6: Paul Smith Stripes for Kim Lee
with Sassy Nail Art in black, red, and Orange striped over OPI My Boyfriend Scales Walls


Nail Art #7: Black Swan sponged tips over silver foil for Jeelai
with Wet 'n' Wild in Creme Noir over some silver polish


The last 3 to leave, with yours truly. You can see the full post about my cupcake nails here. :)


Can you believe it?!?! 7 nail art designs all in one day! Phew! Perhaps I can retire at this point! Haha Who am I kidding?!?!

But before I end this post, I'd like to share with you my favorite picture of them all! It was an honor to have our first ZESh baby, Kirk, attend his first ZESh party!!! I'm a proud Auntie!! :) Isn't he just adorable? <3 Calling Kirb and Vince, please bring Kirk more often! Anne and Hans, bring Ethan next time too, okay? :)


Celebrating love and friendship on our 28th! Of course, a little bit of nail polish and Hello Kitty wouldn't hurt too! :)

Have a great Wednesday to all of you!!
 

Friday, September 28, 2012

Ruby Red Glitter Nails for My Birthday

I have grown accustomed to wearing red on the day of my birthday. Red is such a happy color and it makes my birthday feel all the more special and exciting! Also, for the Chinese, it symbolizes good luck and fortune.

Erica, my friend and classmate from kindergarten all the way to college, and I, would dress up in red on each other's birthdays which are just 2 days apart! I was born on the 7th of September, and she followed on the 9th. So when we were in college and we didn't have to wear uniforms anymore, we wore red on our birthdays! In retrospect, we were probably like flashing signs of "greet us, it's our birthdays" and people got confused over whose birthday came first! Haha!

At first, I thought about doing cupcake nails. They're so popular and everybody seems to be doing it for their birthdays. But after some reflection and after listening to my inner calling, I decided. On birthdays, we wear red! I saved the cupcake nails for our birthday party to happen the following week.

And so, I ended up with amped up super shiny and shimmery ruby red glitter nails! 


This is not your ordinary red glitter polish! This is actually made of real loose glitter, the one you can get from your local supplies store.


I started off with Orly Star Spangled, a very nice glitter red polish, as my base color. It's one of the first few bottles that I bought from Polished Inthecity. :)

I then layered a coat of clear polish, before sprinkling on the red glitter powder. I suggest you use something that you're not afraid of ruining. The red glitter could easily transfer to the polish. Here, I used Face Shop's top coat because I was ready to dispose of it. Good thing I still found a use for it!

I did 2 rounds of clear polish and then glitter sprinkles to make sure that the whole nail is covered. When cleaning up, you can use some sticky tape to remove the excess glitter on your fingers and around your nails.

Orly Star Spangled, Leeho Red Glitter Powder, Sally Hansen Insta-Dri Anti-Chip Top Coat

 You can really see how nice and sparkly the glitter is from the close up shot below.


Sally Hansen Insta-Dri Anti-chip Top Coat was the perfect top coat to even everything out. I know that I have commonly used Seche Vite in my past entries. However, for this purpose, Sally Hansen was thicker and had a glossier sheen which made it the best finish to go with this design.


I found this tutorial on youtube with instructions on how to do it yourself. I didn't exactly do it this way, but it's more or less similar if you want to try it out!


What's your birthday nail art of choice? :)


* UPDATE: I forgot to mention that this manicure dried rock solid. After a few days, I filed my nails short and it didn't chip, not even one bit! I ended up keeping it for a full week. I bet you can keep it for longer, which makes this a good manicure for traveling and for low maintenance and upkeep. Just a warning though, taking this off was a nightmare. Hehe! So, enjoy it for as long as you can! :)