Showing posts with label Cupcake Nails. Show all posts

Wednesday, October 3, 2012

Karen & Erica's 2012 Birthday Party

September 15, 2012

This year, it was a sit down Surf and Turf dinner + Hello Kitty + Tonic Bags and Shoes + Polished Inthecity Nail Art PARTY!!!!
I'm still on a high over it! Jor-el bought 18 pieces of 14-16 oz. steaks for all of us to feast on!!! If you've seen them in real life, you'd be flabbergasted! :-O

Thank you Chef Jor-el Soyangco for our plated surf and turf grilled steak and prawns with a siding of mashed potatoes and our smoked salmon with kesong puti salad in blueberry vinaigrette!

Thank you Chef Nicco Santos for our watercress and spinach soup, mushroom and truffle cream sauce pasta, and our late night salpicao!

We even hired a waiter to serve and bus out our plates! How cool is that?! :)

It was so sad we didn't have pictures of the food though!! All I have is this picture of the leftovers with the boys. :(


I got Erica black Lydias from Tonic Bags and Shoes for her birthday! I wore my platinum ones, while Anne wore her gold ones. All thanks to the ever-talented Kim Chupeco!! We love your work!!! <3


Our friends, Kali and Rach, got us these really cool Hello Kitty glasses! Now, I have 4 in my collection!!

Took this the day after the party, with my new Hello Kitty glasses! :)

The night progressed with the girls doing their nails for each other. :) It was so much fun!!! Look at the smiles on our faces! After trying it out themselves, my friends realized how easy it was to do! The night was shortlived and I'm still hoping that I can invite them over to the house for another round!


Nail Art #1: Kate Spade Dippin' Dots for Kali
with China Glaze Peachy Keen, China Glaze For Audrey, and Orly Pixy Stix
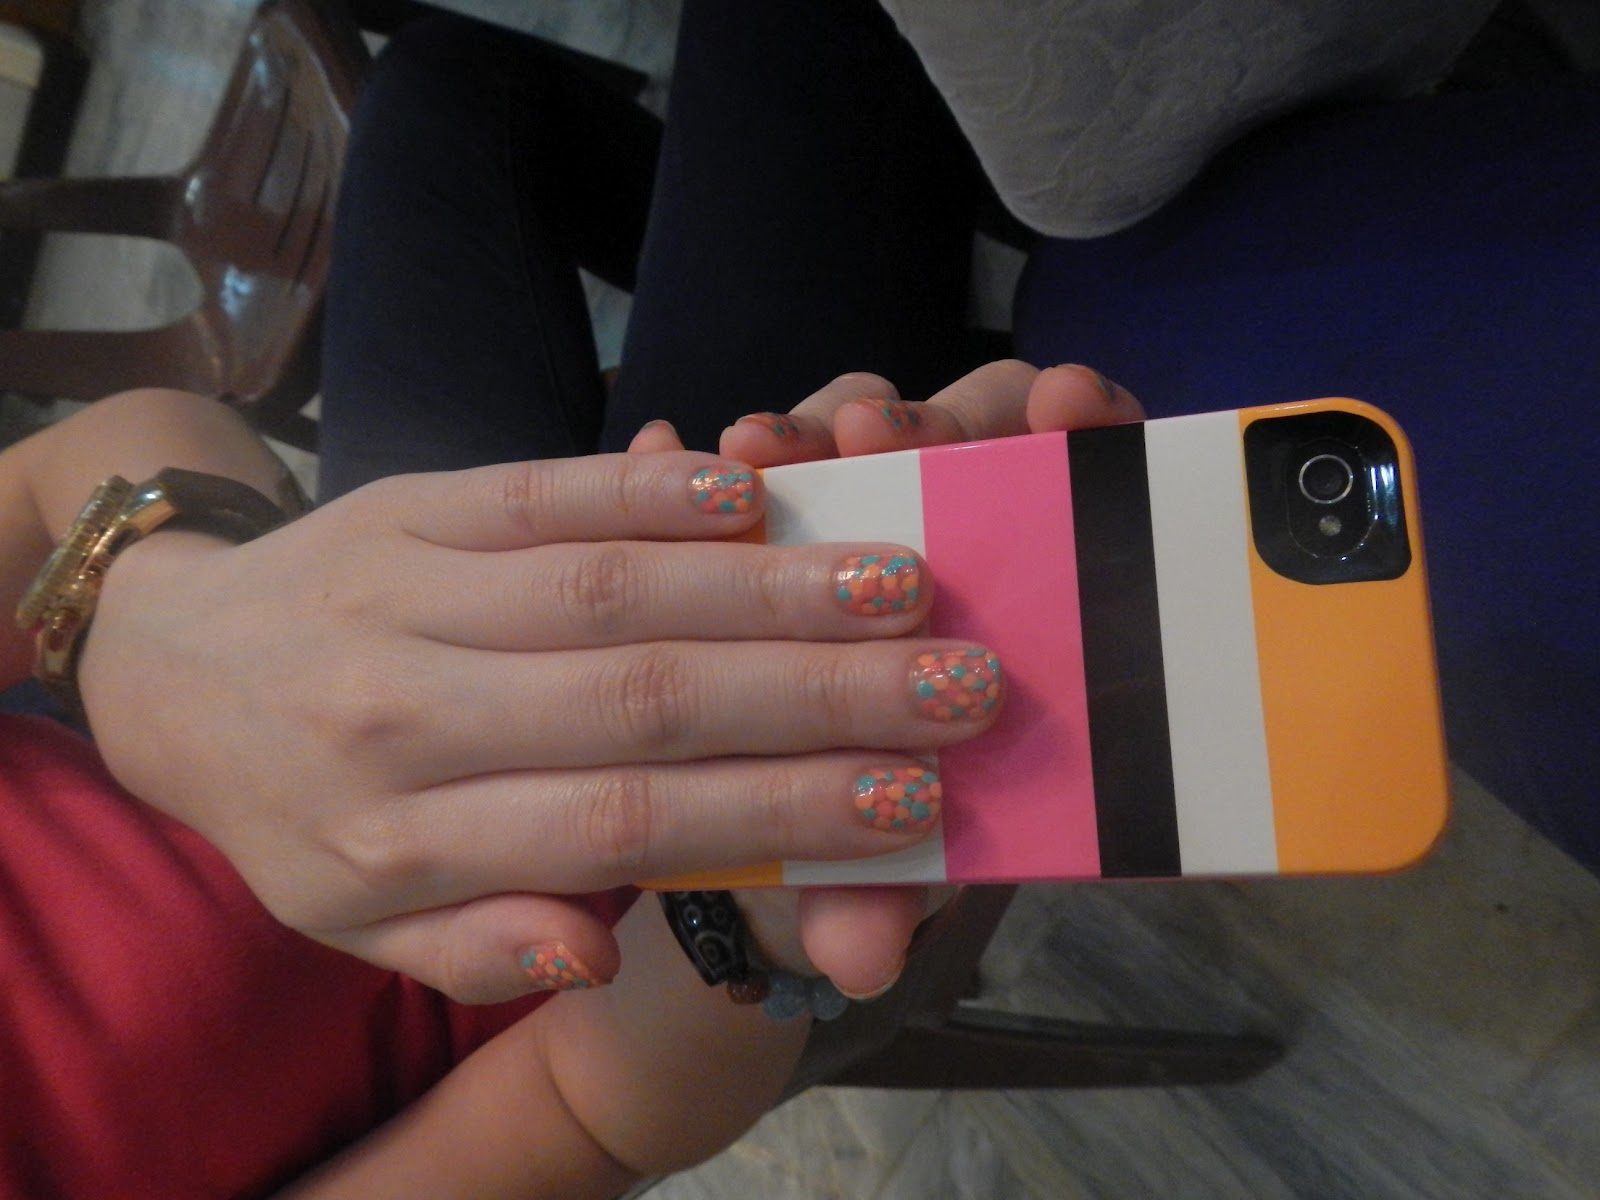

Nail Art #2: Fun Nerds Dots for Shirley
with Orly Spark, Orly Rage, Orly Pixy Stix, China Glaze Peachy Keen, and China Glaze For Audrey


Nail Art #3: Silver Accents over Pink for Elaine
with some Orly pink polish and Wet 'n' Wild Wizard


Nail Art #4: Sponged tips for Erica
with Orly Rage layered on Essie Sand Tropez


Nail Art #5: Aztec Nails for Kacy
with OPI My Boyfriend Scales Walls, L'Oreal Electric Pink Creme, and Sassy Nail Art in black


Nail Art #6: Paul Smith Stripes for Kim Lee
with Sassy Nail Art in black, red, and Orange striped over OPI My Boyfriend Scales Walls


Nail Art #7: Black Swan sponged tips over silver foil for Jeelai
with Wet 'n' Wild in Creme Noir over some silver polish


The last 3 to leave, with yours truly. You can see the full post about my cupcake nails here. :)


Can you believe it?!?! 7 nail art designs all in one day! Phew! Perhaps I can retire at this point! Haha Who am I kidding?!?!

But before I end this post, I'd like to share with you my favorite picture of them all! It was an honor to have our first ZESh baby, Kirk, attend his first ZESh party!!! I'm a proud Auntie!! :) Isn't he just adorable? <3 Calling Kirb and Vince, please bring Kirk more often! Anne and Hans, bring Ethan next time too, okay? :)


Celebrating love and friendship on our 28th! Of course, a little bit of nail polish and Hello Kitty wouldn't hurt too! :)

Have a great Wednesday to all of you!!
 

Saturday, September 29, 2012

Cupcake Nails

My best nail art to date. Cupcake nails!!!


I learned how to do this by following cutepolish's "Cute Cupcake Nail Art" tutorial in youtube. Try it yourself! With the right tools, it's not so hard to do!


As you can see, I did some tweaks and made it my own!! :D You can play around with different color combinations too! There are a lot of cupcake nail art inspirations in Google. Some people even make chocolate cupcakes using brown instead of white! Yum!! And you can definitely make the candy sprinkles more interesting with actual beads or hex glitter, you name it!


I like my nails sparkly, so I used a white silver glitter base color. I played around with Caronia's Crystal Frosted and was happy with it.

Next, I was able to easily create the vertical stripes for the cupcake base, thanks to these new found gems! I got these Sassy Nail Art bottles from Watson's for Php 30+ (USD $0.70) each! You can apply the polish using the tip at the top, which more or less works like liquid paper. Or, you can twist and remove the top to use the thin striper brush inside. I used the latter for my stripes.


After, I used a large dotting tool to apply the fluffy cupcake in OPI My Boyfriend Scales Walls, my go-to white polish. I think this was the hardest step to do. But I realized that it doesn't have to be perfect. Cupcakes aren't baked all equal. Some may be fluffier than others or some may even be lopsided. It doesn't matter if they aren't even, as long as they come out still looking like cupcakes! :D At this point, the design might look bulky, but don't you worry. Keep on working on the next steps, and the top coat will even it all out.

I applied the hearts on top using Essie Coral Reef. I just followed how cutepolish did it. Thebeautydepartment.com showed how to do this trick too. It was a bit tricky, but I managed. All it takes is a little bit of practice and you can try doing it on a piece of paper first.

To decorate the cupcake with candy sprinkles, I used Sassy in pink (same as the stripes) and China Glaze For Audrey. I just made the dots randomly in no particular order.

To top it all off, I put on one coat of Seche Vite dry fast top coat. It flattened the design and made it look professionally done!

I think that the colors I used blended well together and made the design pop out more. I'm very pleased with this. It's my favorite nail art and I actually drew something out of it. :) True enough, it was very popular with family and friends. :D

I did it to all 10 fingers! Aren't they soooo cute?!?! Nom nom nom!


 I wanted to take more pictures so I posed with my matching pink and purple loofas. Heehee :*)


And then, I found the perfect accessory to my nails!! A GIANT CUPCAKE!!! In complimentary colors too! :D


Fun fun fun!! I hope you can try this yourself! You won't regret it!! :)


Thanks for reading!